How to Set Up a Bioactive Terrarium, Step by Step
A step-by-step guide to building a bioactive terrarium: drainage, barrier, substrate, hardscape, plants, leaf litter and cleanup crew, plus how long to wait before adding your animal.
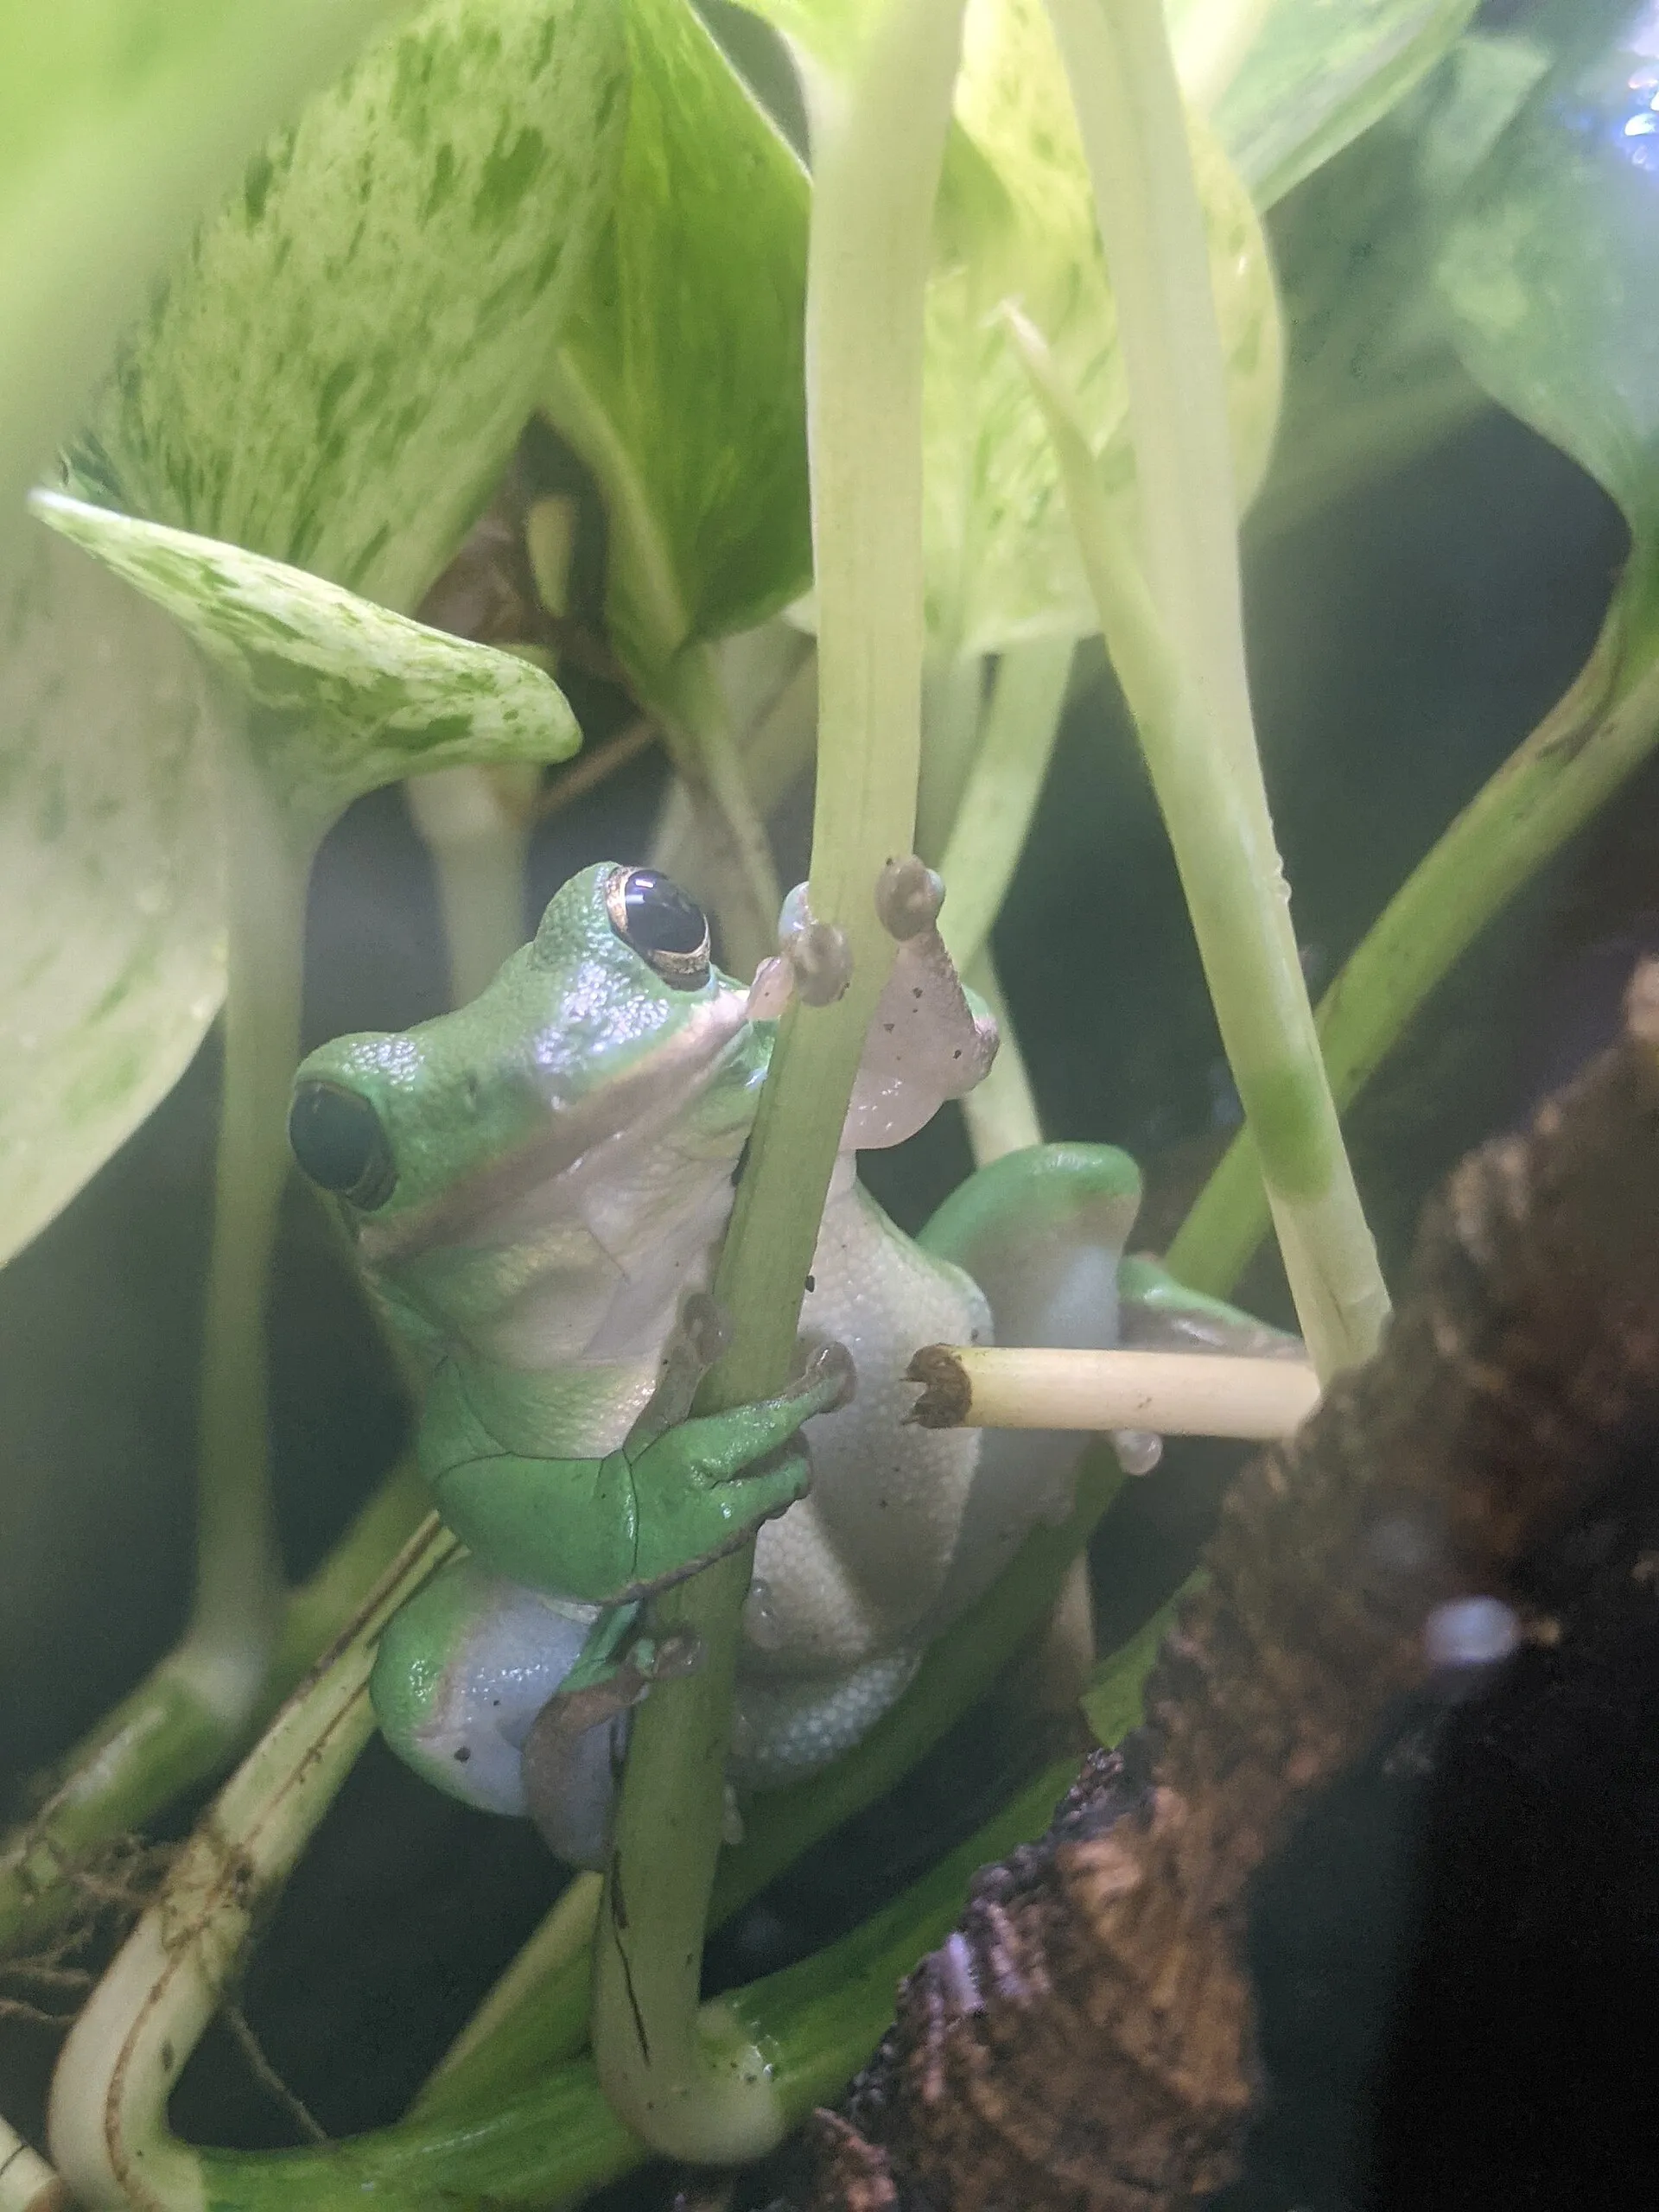 Photo: HerpDad, CC BY 4.0
In this guide
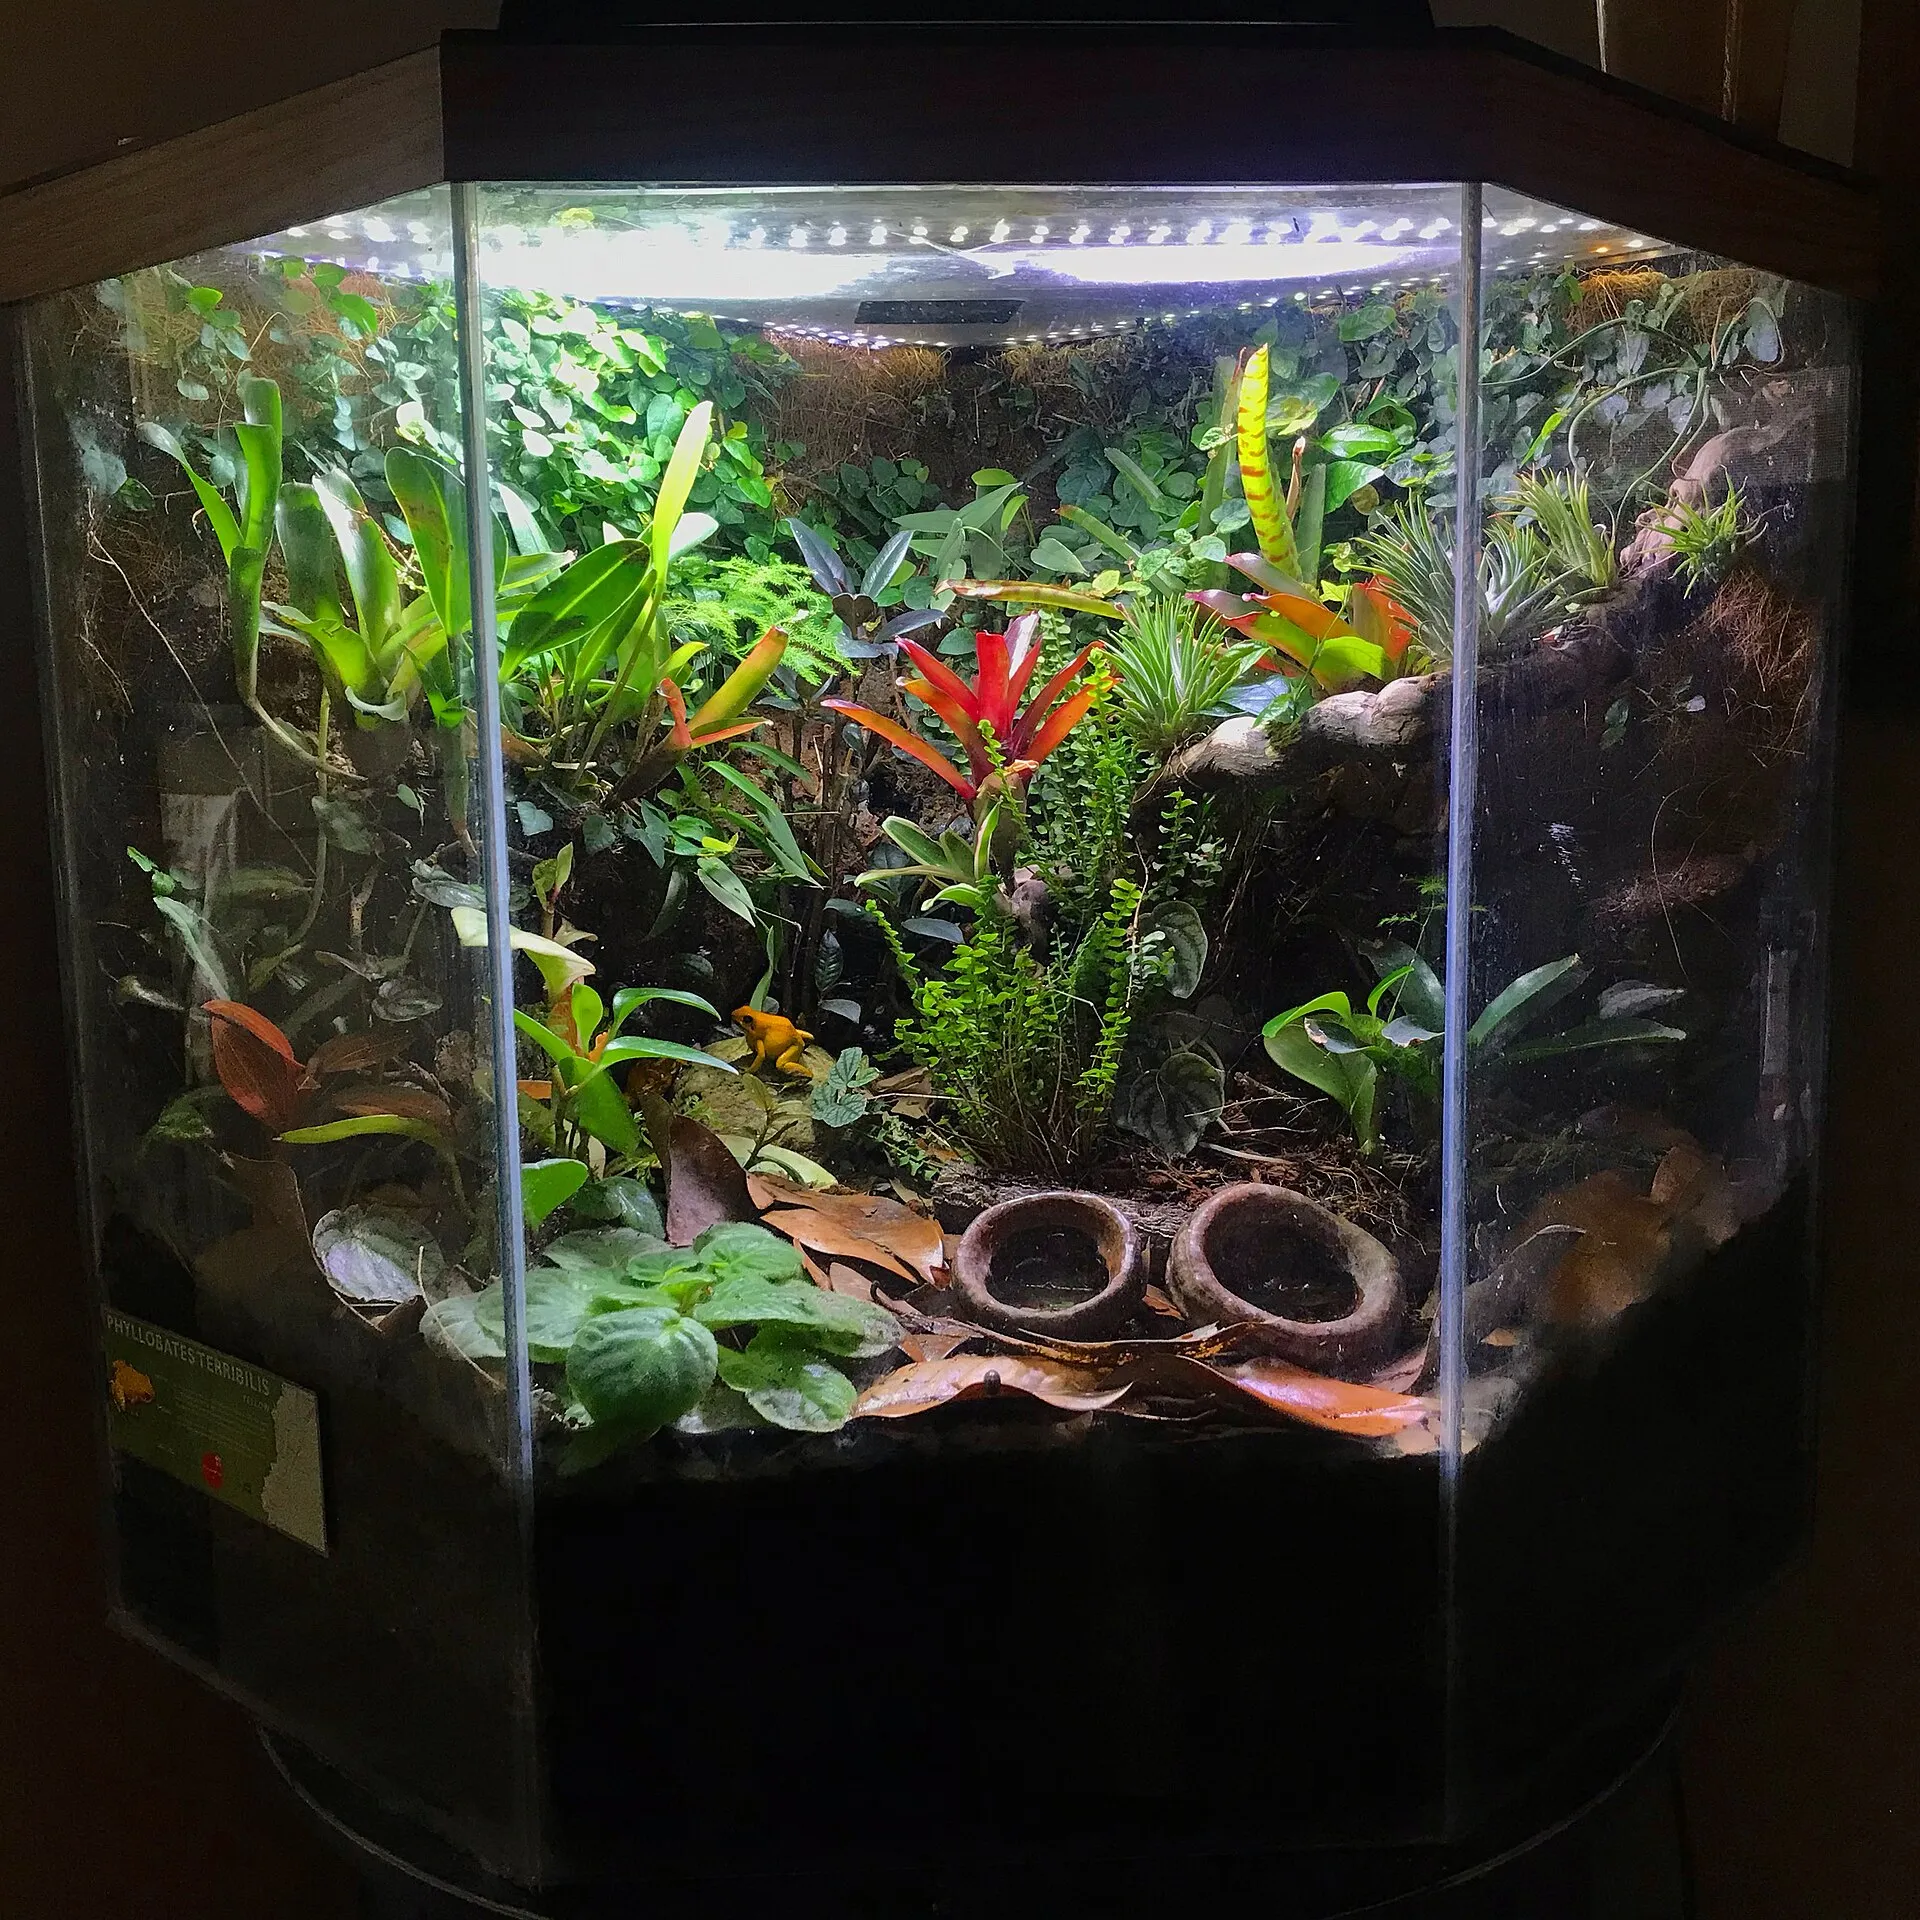
Short answer: build it from the bottom up: drainage layer → mesh barrier → bioactive substrate → hardscape → plants → leaf litter → cleanup crew. Then set up lighting and heating, mist it, and let it run for 2–4 weeks before your animal moves in. The whole build takes an afternoon.
This guide is for a typical humid tropical setup, for example for crested geckos, tree frogs or small tropical lizards. Arid setups skip the drainage layer and use drier soil and plants. The basic order stays the same.
Before you start
Have these ready:
- The enclosure, cleaned with hot water (no soap residue)
- Drainage material: expanded clay balls or lava rock
- A fine mesh barrier cut to the floor size
- Bioactive substrate. Mix your own with our substrate recipe
- Hardscape: cork bark, branches, rocks
- Live plants suited to your humidity and light
- Leaf litter (pesticide-free)
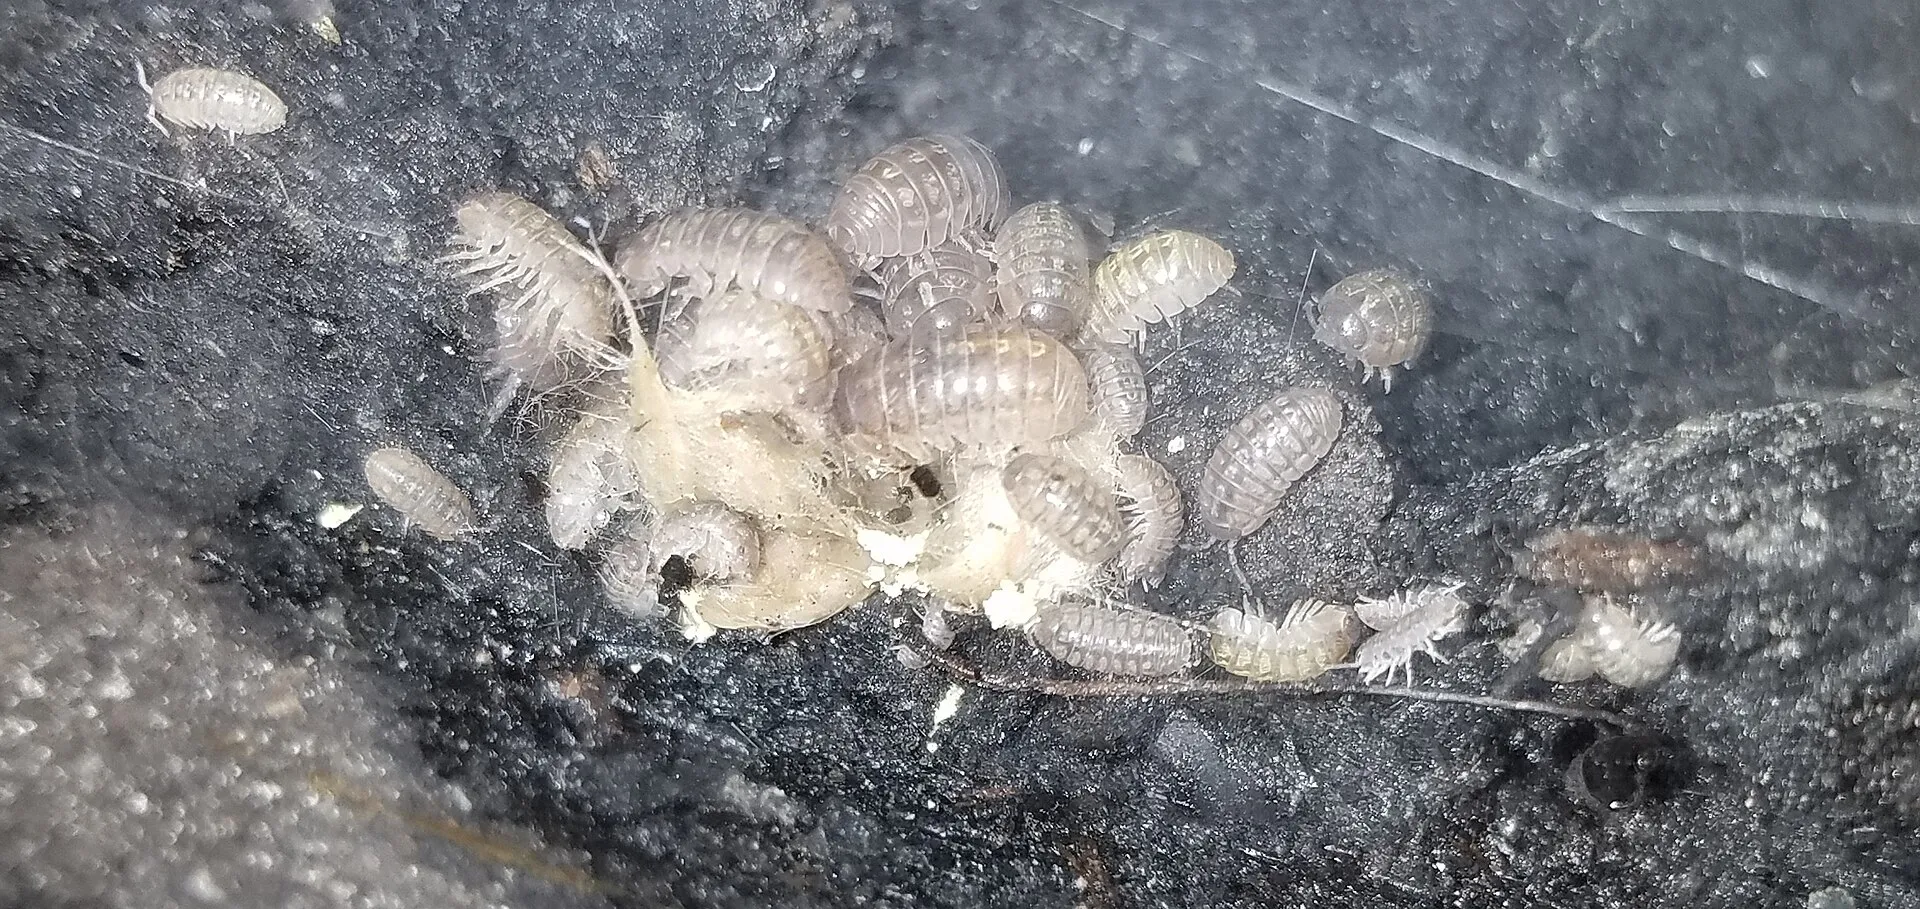
- Cleanup crew: isopods and springtails
Use our Substrate Calculator to work out how much drainage and substrate to buy.
Step 1: Add the drainage layer
Spread 1–2 in (2.5–5 cm) of clay balls or lava rock across the floor. This layer collects excess water so the soil above never sits in a puddle. Read more on whether you need a drainage layer.
Step 2: Lay the mesh barrier
Cut the mesh slightly larger than the floor and lay it over the drainage. Fold the edges up a little along the glass. It keeps soil from washing down and mixing with the drainage.
Step 3: Add the substrate
Moisten the substrate first. It should clump when squeezed but not drip. Add 3–4 in (7–10 cm) over the barrier. You can slope it higher at the back to add depth and make planting easier.
Step 4: Place the hardscape
Add cork bark, branches, rocks and hides before planting, pushing them firmly into the substrate so they can’t fall on your animal. Heavy rocks should sit on the barrier or the floor, not on top of the soil, because animals can dig underneath them.
Make sure your animal has what it needs: climbing branches for arboreal species, ground hides for terrestrial ones.
Step 5: Plant
Choose plants that match your enclosure’s light and humidity, and that are safe and sturdy for your animal. Common easy choices for humid setups:
- Pothos (Epipremnum)
- Bromeliads
- Ferns
- Fittonia (for smaller, gentler animals)
- Creeping fig (Ficus pumila)
Rinse the plants and remove as much store soil as you reasonably can. Plants from garden centers may carry pesticides or fertilizer pellets. Rinse them well, or buy from suppliers that sell plants specifically for terrariums.
Step 6: Add leaf litter
Cover the surface with a loose layer of leaf litter, 1–2 in deep. It holds humidity, feeds the isopods and gives your animal a natural floor.
Step 7: Add the cleanup crew
Add isopods and springtails now, before your animal. Tip them into a shaded corner under bark or leaves, where they can settle.
Step 8: Set up light, heat and humidity
- Plant light: an LED grow light on a 10–12 hour timer is typical
- Heat and UVB: whatever your animal species needs. Check a species-specific care guide
- Humidity: mist to your species’ target and check with a hygrometer
Step 9: Let it settle
Wait 2–4 weeks before adding your animal. During this time:
- Plants root and adjust
- The cleanup crew spreads and starts breeding
- Mold appears on new wood and leaves, then fades. That’s normal. See mold in a bioactive terrarium
- You can adjust humidity, ventilation and misting before an animal depends on them
Common mistakes
| Mistake | Why it’s a problem |
|---|---|
| Skipping the barrier | Soil washes into the drainage and the layers clog |
| Waterlogged substrate | Rotting smells, root rot and dying isopods |
| Adding the animal on day one | Plants get trampled and the cleanup crew never establishes |
| Rocks placed on top of soil | Animals can dig under them and get crushed |
| No leaf litter | Isopods starve and may start eating plants |
Frequently asked questions
How long does it take to set up a bioactive terrarium?
The build takes 2–4 hours. Letting it settle takes another 2–4 weeks.
Do I need a drainage layer?
In humid setups it’s strongly recommended. In arid setups it’s usually unnecessary.
What order do the layers go in?
From bottom to top: drainage, mesh barrier, substrate, hardscape, plants, leaf litter, cleanup crew.
How often do I need to add isopods?
Usually only once, if they have enough food and moisture. You might top up if your animal eats a lot of them.